


- Industrial display
-
Industrial Products
- DC Servo Drive
- AC Servo Drive
- Industrial board
- Siemens
- Switch Sensor
- Proximity Switch
- Temperature Controller
- Protection Relay
- Fiber Optic Sensor
- Encoder
- Fan
- other
- Heidelberg
- MITSUBISHI
- FANUC
- Siemens adapter
- Fujitsu connector
- Motherboard
- Board
- Contactor
- Circuit
- OMRON
- Relay
- Motor Driver
- power supply
- Cable
- Transformer
- HMI Touch Glass
-
HMI Full Machine Whole unit
- OMRON HMI Touch Panel
- Siemens HMI Touch Panel
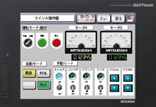
- Mitsubishi HMI Touch Panel
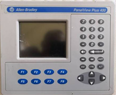
- Allen-Bradley automation HMI Touch Panel
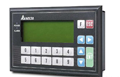
- DELTA HMI Touch Panel
- Proface HMI Touch Panel
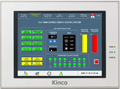
- KINCO DELTA HMI Touch Panel
- HITECH HMI Touch Panel
- WEINTEK HMI Touch Panel
- TECVIEW HMI Touch Panel
- WEINVIEW HMI Touch Panel
- PANASONIC HMI Touch Panel
- KYOCERA HMI Touch Panel
- SCHNEIDER HMI Touch Panel
- Module
- lcd inverter
- Membrane Keypad Switch
- Zhiyan Customized Touch Screens
- Frequency Inverter
- Servo Motor
- PLC
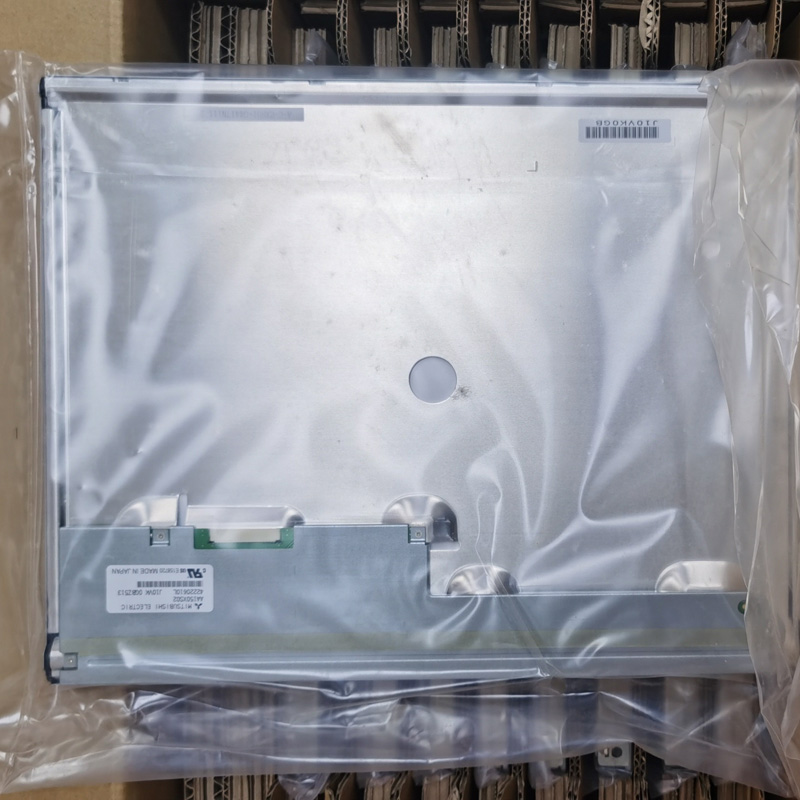
In the demanding world of industrial automation and control, the clarity and reliability of a human-machine interface (HMI) are paramount. The Mitsubishi AA150XC01 LCD display module stands as a critical component in this ecosystem, serving as the visual conduit between operators and complex machinery. However, like any sophisticated electronic component, it is susceptible to wear, damage, or eventual failure. The process of AA150XC01 LCD display screen replacement is not merely a simple swap; it is a precise maintenance procedure that demands technical understanding, the right tools, and meticulous care.
This in-depth guide is crafted for maintenance technicians, engineers, and responsible plant personnel. We will move beyond superficial instructions to explore the why and how of this specific maintenance task. From accurately diagnosing the need for replacement to the final steps of testing and reintegration, we will navigate the logical progression of this operation. Our goal is to equip you with the knowledge to execute this maintenance confidently, ensuring the longevity of your Mitsubishi HMI unit and minimizing costly system downtime.

Diagnosing the Need for Screen Replacement
Before any tools are picked up, a correct diagnosis is essential. Not all display issues necessitate a full screen replacement. Common symptoms that specifically point to a failing AA150XC01 LCD panel include persistent dead pixels (clustered or spreading), distinct horizontal or vertical lines that remain static, significant discoloration or fading across the entire screen, and physical cracks or deep scratches that impair visibility. It is crucial to rule out other potential culprits first.
Check the integrity of the video cable connections, the power supply to the display module, and the settings of the connected PLC or controller. A flickering screen might be a power issue, while a completely blank screen with a backlight could indicate a signal problem. Only after systematically eliminating these external factors should the fault be isolated to the LCD panel itself. This diagnostic rigor prevents unnecessary parts replacement and ensures the maintenance effort is correctly targeted.
Essential Tools and Preparatory Safety Measures
Successful replacement hinges on proper preparation. The required tools typically include a set of precision screwdrivers (Phillips and flathead), plastic spudgers or opening tools to safely separate plastic housings without marring them, anti-static equipment such as a wrist strap and mat, and a clean, well-lit workspace. For the AA150XC01, you may also need Torx or other specialized bits depending on the housing assembly.
Safety is twofold: protecting the technician and the sensitive electronics. Always disconnect all power sources from the Mitsubishi unit and allow sufficient time for capacitors to discharge. The anti-static precautions are non-negotiable; the new LCD panel and the internal circuitry are highly susceptible to electrostatic discharge (ESD), which can cause immediate or latent failures. Organize screws and components sequentially as you disassemble, using a compartmented tray or labeled containers, to ensure a smooth reassembly process.
Step-by-Step Disassembly and Access Procedure
Gaining access to the LCD panel requires a methodical approach. Begin by carefully removing the unit from its panel cutout or mounting bracket. The front bezel or housing is usually secured by screws hidden behind cosmetic labels or rubber gaskets. Use plastic tools to gently pry apart seams, working your way around the perimeter to avoid cracking the plastic.
Once the outer casing is open, you will encounter internal metal shields and the mainboard. Document or photograph cable orientations before disconnecting them. The LCD panel itself is typically mounted within a metal frame and connected to the mainboard via a delicate ribbon cable secured with a ZIF (Zero Insertion Force) connector. Lift the locking flap of the ZIF connector carefully before sliding the ribbon cable out. Remove any screws securing the LCD metal frame to the main chassis to free the panel assembly.
Careful Removal and Installation of the LCD Panel
This is the most delicate phase. The old AA150XC01 screen must be handled by its edges, avoiding any pressure on the glass surface. Place it aside on an anti-static bag. Clean the internal surface of any accumulated dust using compressed air. Unpack the new, guaranteed-compatible replacement LCD panel only when you are ready to install it, again handling it with extreme care.
Position the new panel into the metal frame, aligning it perfectly with the screw holes. Reconnect the ribbon cable to the mainboard's ZIF connector, ensuring it is seated straight and fully inserted before locking the flap back down. This connection is a common point of failure if not done correctly. Re-attach the frame to the chassis with its screws, applying even but not excessive torque to avoid stressing the glass.
Reassembly and Initial Power-On Testing
Reassembly is essentially the reverse of disassembly, but with added vigilance. Reconnect all internal cables according to your earlier documentation. Before closing the outer housing, perform a preliminary test. Reconnect the power and signal cables to the unit and power it on in a controlled manner.
Observe the new display closely. Check for uniform backlighting, the absence of lines or dead pixels, and correct color representation. Navigate through the HMI's menus to ensure touch functionality (if it's a touch panel) remains intact. If any issues are apparent, power down immediately and re-check all connections, especially the LCD ribbon cable. Only after confirming perfect operation should you proceed to fully secure the outer housing and screws.
Post-Replacement Calibration and Long-Term Care
While modern digital interfaces often do not require calibration, some touch-screen versions of the AA150XC01 might need a touch calibration routine after screen replacement. Consult the specific Mitsubishi HMI manual for the procedure, which typically involves accessing a service menu and tapping designated points on the screen.
For long-term care, implement preventative measures. Ensure the operating environment is within specified temperature and humidity ranges. Keep the screen clean using appropriate, non-abrasive cleaners and soft cloths. Consider installing a protective film or anti-glare overlay to shield the new screen from minor scratches and chemical exposure. Regular visual inspections as part of your preventative maintenance schedule can help catch environmental or other issues before they lead to another costly failure.
Frequently Asked Questions (FAQs)
Q1: How do I know if my AA150XC01 screen is broken or if it's another fault?A1: True screen failure is indicated by permanent physical cracks, spreading dead pixel clusters, or fixed lines. Rule out loose cables, power supply issues, and controller problems first.
Q2: Can I use a generic LCD screen as a replacement?A2: It is strongly discouraged. The AA150XC01 has specific electrical, physical, and connector compatibility requirements. Always source a panel specified for this exact model.
Q3: Is this a repair I can do myself without formal training?A3: If you have experience with precision electronic disassembly, ESD safety, and following technical procedures, it is feasible. For novices, professional service is recommended.
Q4: What is the single biggest risk during replacement?A4: Electrostatic Discharge (ESD) is the silent killer of components. Neglecting anti-static precautions can instantly damage the new panel or mainboard.
Q5: Do I need to recalibrate the touch screen after replacement?A5: For touch-screen variants, yes, it is often necessary. Check your unit's manual for the specific calibration sequence.
Q6: Where is the best place to source a replacement AA150XC01 LCD screen?A6: Purchase from reputable industrial electronic parts suppliers or authorized Mitsubishi service partners to guarantee compatibility and quality.
Q7: What should I do with the old, faulty LCD panel?A7: Dispose of it according to local regulations for electronic waste (e-waste), as it contains materials that should not go to landfill.
Q8: Can a damaged backlight be fixed without replacing the entire LCD?A8: In some modules, the backlight unit (BLU) is separate. However, for the AA150XC01, the integration often makes a full panel replacement more practical and reliable.
Q9: How long should a replacement screen last?A9: With proper handling and under normal operating conditions, a quality replacement should have a comparable lifespan to the original component.
Q10: What if the display still doesn't work after replacement?A10: Double-check every connection, especially the ribbon cable lock. If problems persist, the issue may lie with the mainboard, inverter, or other internal components, requiring further diagnosis.
Conclusion
The replacement of the Mitsubishi AA150XC01 LCD display screen is a definitive example of precision maintenance in an industrial context. It transcends a simple parts swap, embodying a process that begins with accurate diagnosis, proceeds through meticulous and safe execution, and culminates in thorough validation. When performed correctly, this procedure restores a vital line of communication between human operators and automated systems, ensuring operational continuity and safety.
By understanding the logical steps outlined—from diagnosis and preparation to installation and testing—technicians empower themselves to tackle this challenge effectively. Investing in the correct tools, compatible parts, and, most importantly, a methodical approach, pays dividends in reduced downtime and extended equipment life. Remember, in industrial maintenance, the quality of the repair is just as critical as the speed of its execution.


